Skip to content
dash cams are dedicated to providing drivers with a clear, safe, and smart recording experience.
dash cams are dedicated to providing drivers with a clear, safe, and smart recording experience.
Cart
Your cart is empty
Continue shopping
USD $
EN
Collection browsing
Home
All Products
X Collection
K Collection
Multifunctional Air Pump
Accessories
Warranty service
FAQ
Installation Guide
Contact Us
USD $
EN
Cart
0
0 items
Search
Enter keywords to see quick results
Product added to cart
View cart (
)
Check out
Menu
Contact us
+852 5414 0665
luting202509@outlook.com
@505upysf
Your account
Login
USD $
EN
Dash Cam Installation Guide
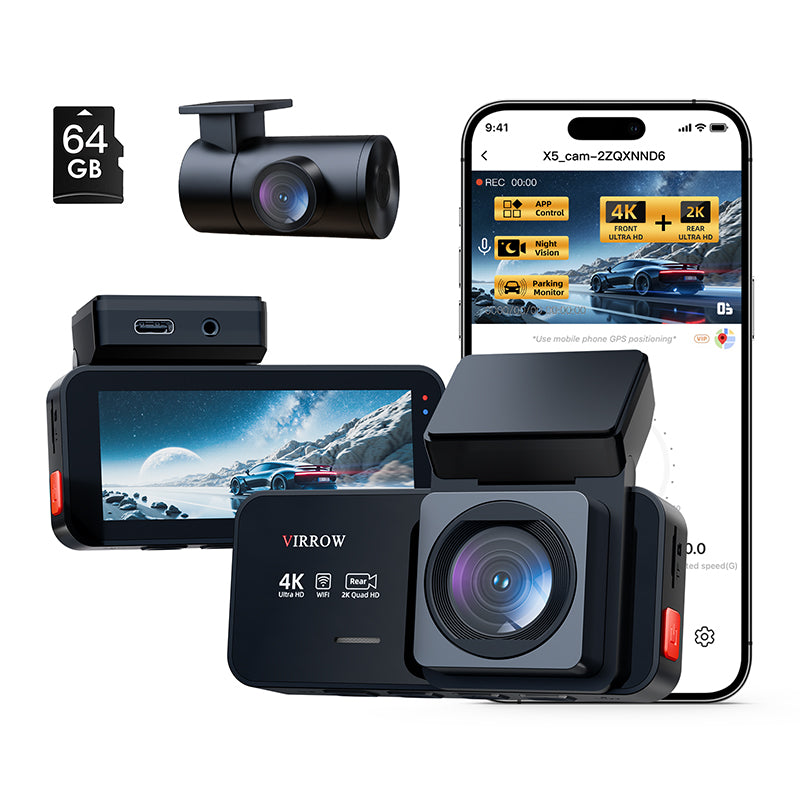
X5-Installation Guide
V3-Installation Guide
X7-Installation Guide
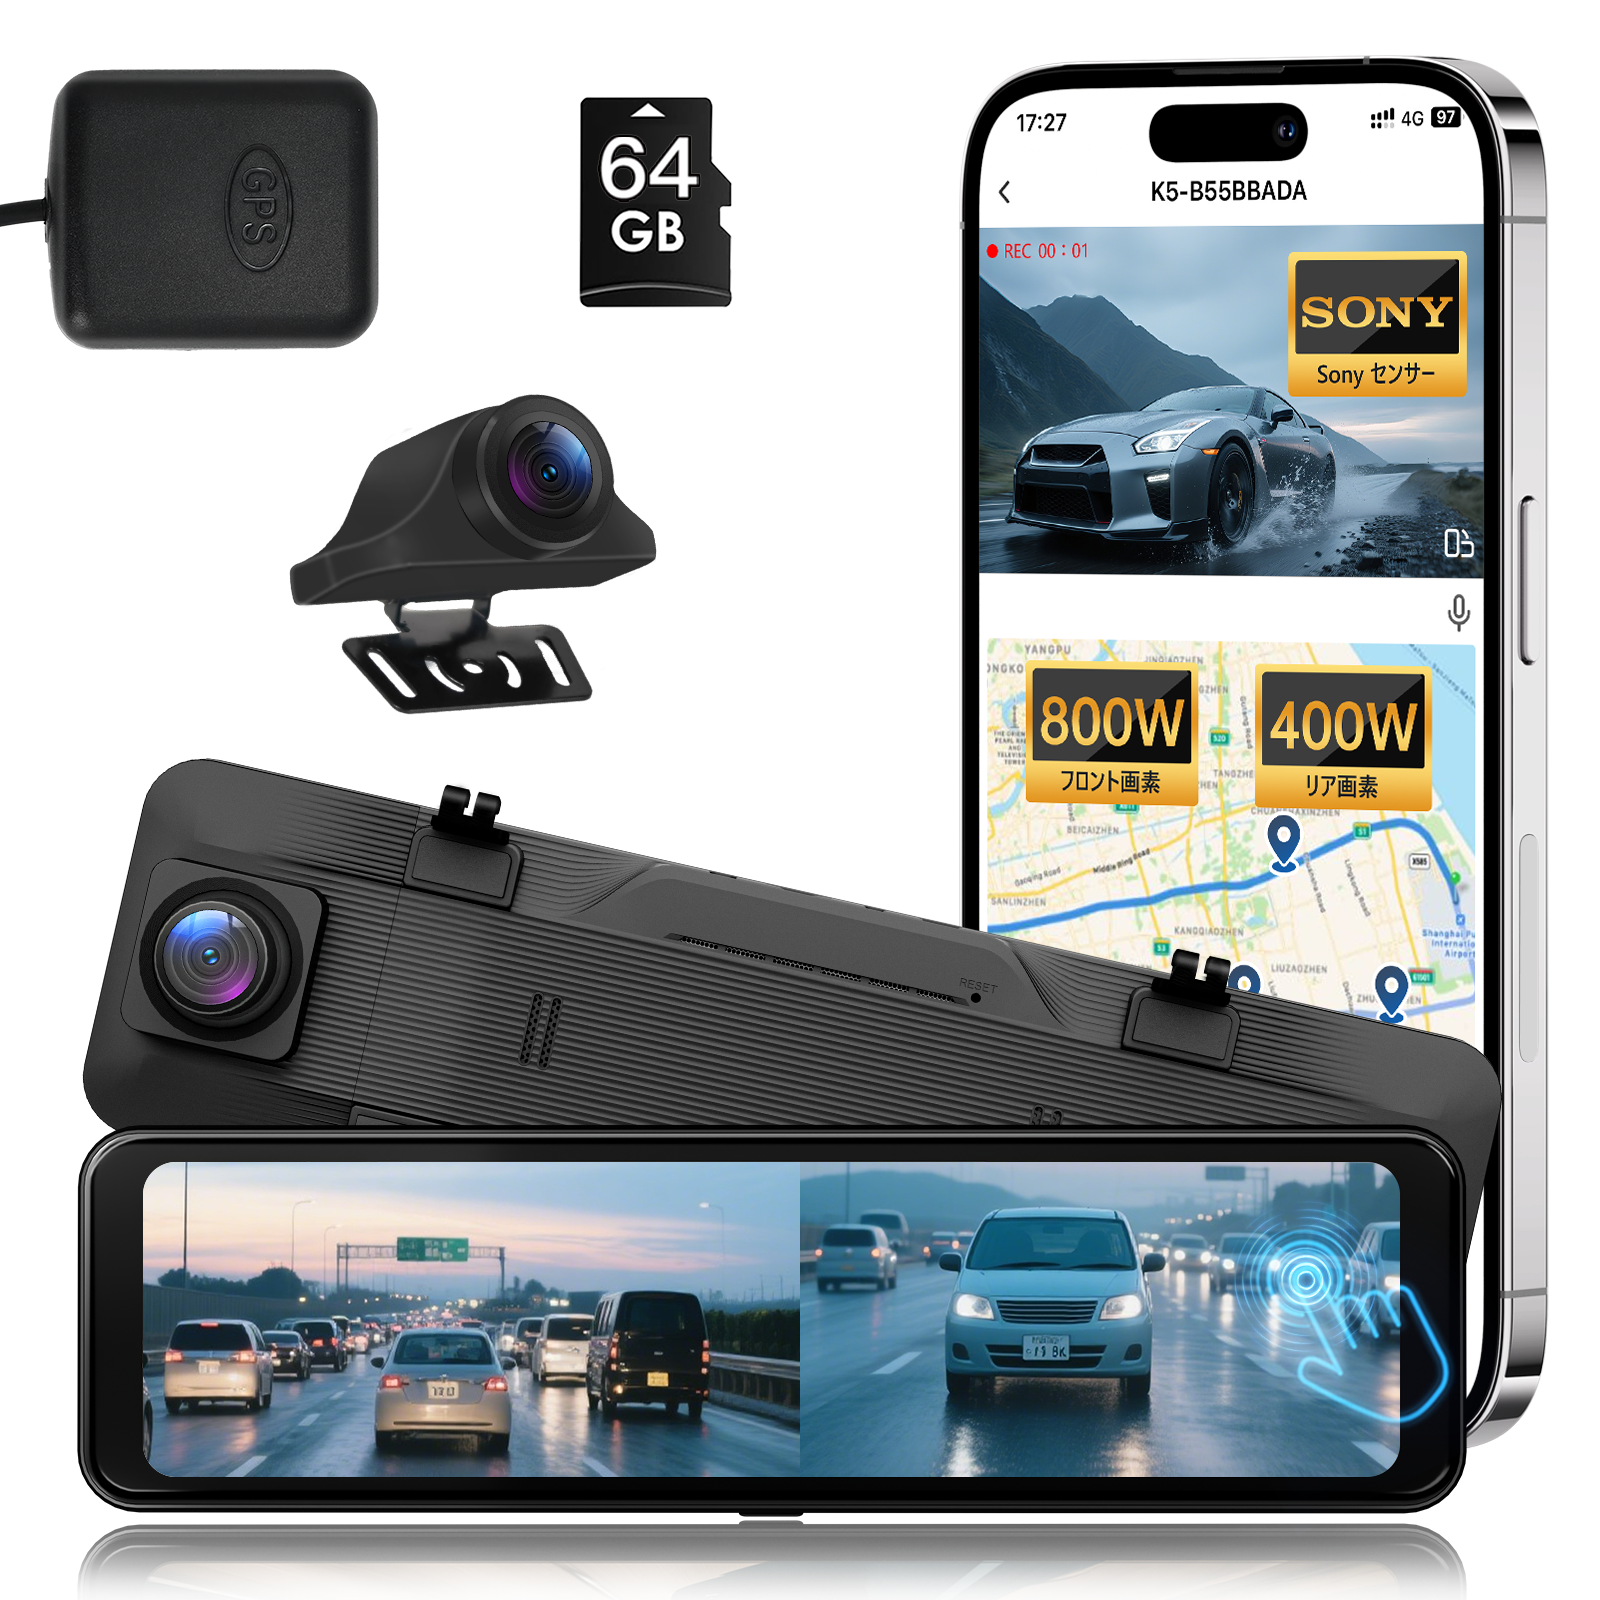
K5-Installation Guide
Quick shop
Choosing a selection results in a full page refresh.
Opens in a new window.